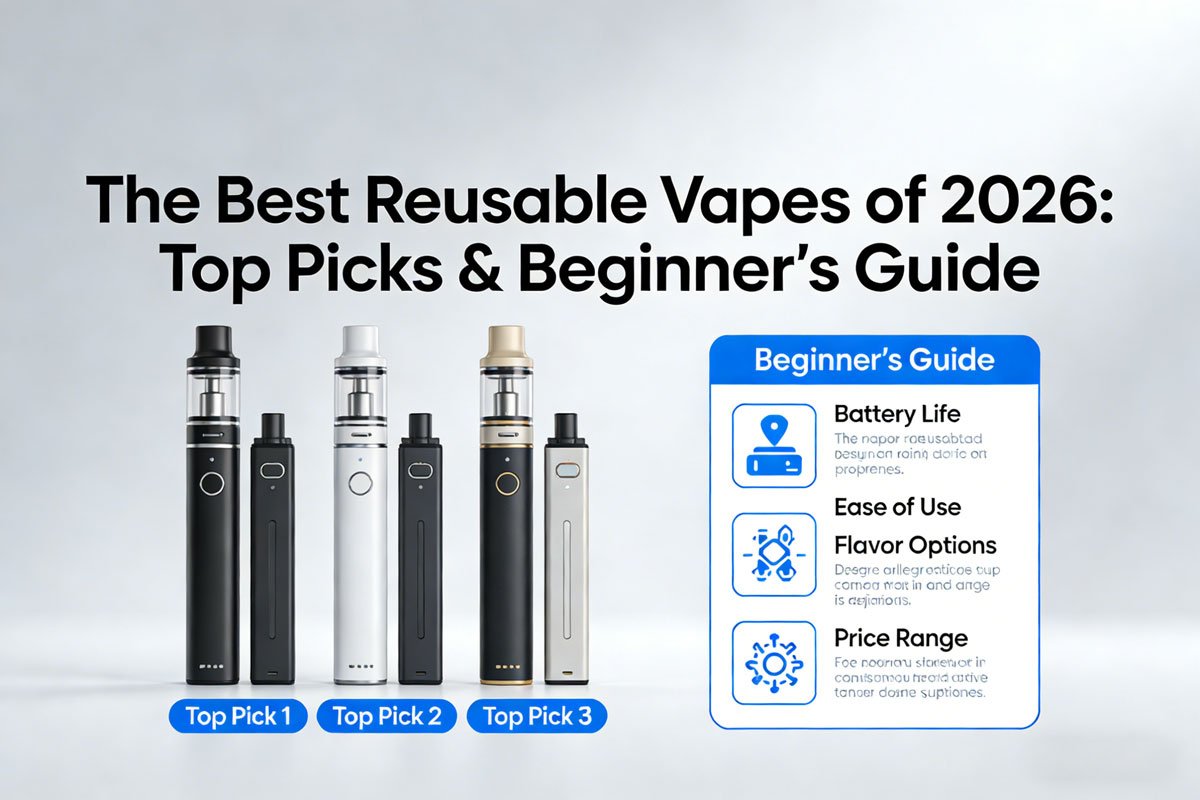
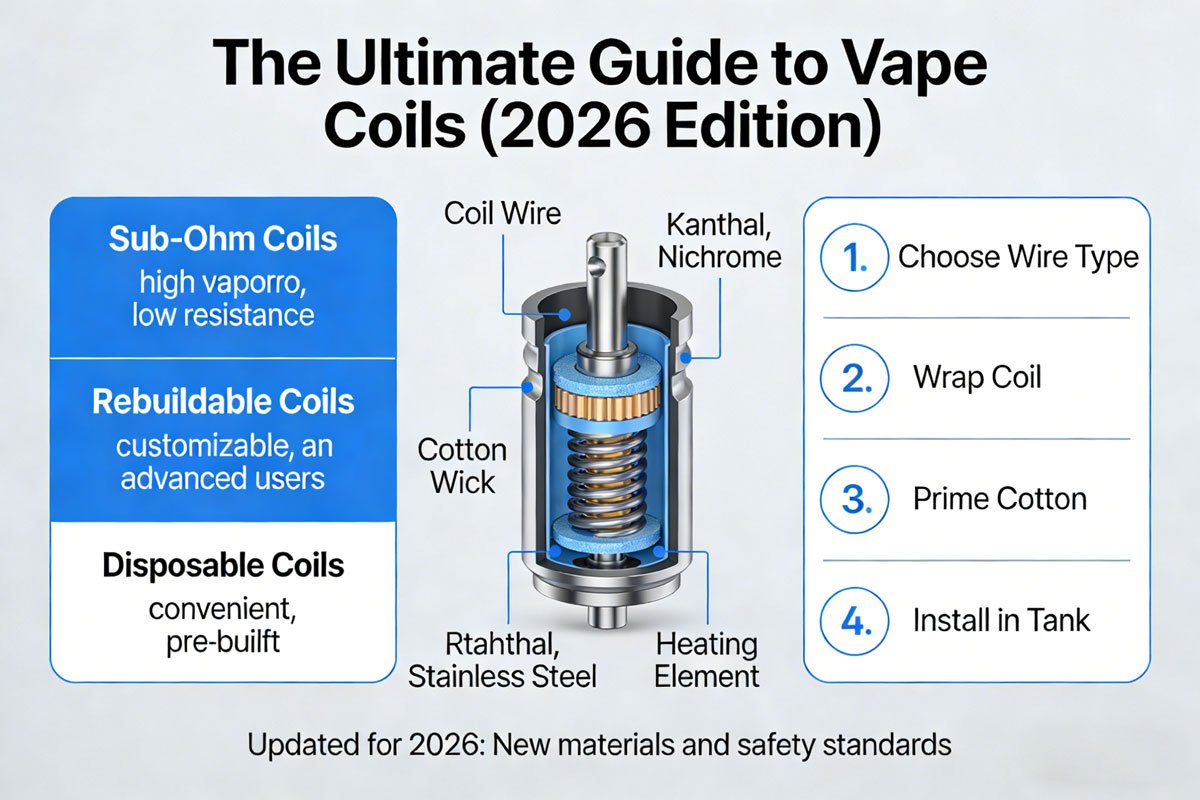
The Ultimate Guide to Vape Coils (2026 Edition)
Welcome to your complete guide to understanding vape coils, updated for 2026. The coil is one of the most important parts of your vaping device. Getting it right can transform your entire experience.
Whether you are a beginner trying to replace your first coil or an expert builder, this handbook will walk you through everything. We will cover the types, materials, and maintenance needed for the best flavor and vapor.
What Exactly is a Vape Coil?
Let’s start with the basics. The vape coil is the heart of your device. It is the component responsible for heating your e-liquid and turning it into the vapor you inhale.
Without a functioning coil, your vape simply will not work. It plays a crucial role in both flavor and cloud production.
A vape coil, often called an atomizer head, is a small, replaceable unit containing a heating wire and a wicking material. The wicking material absorbs e-liquid, and the wire heats it upon activation.
The two main parts of a coil are the heating element (the wire) and the wicking material (usually organic cotton). When you press the fire button on your mod, power from the battery heats the wire, which then vaporizes the e-liquid held in the cotton.
Coil Types: Finding Your Perfect Match
Not all coils are created equal. The type of coil you use dramatically affects your vape. This section explores the most common types to help you find the right fit for your style.
Mouth-to-Lung (MTL) vs. Direct-to-Lung (DTL) Coils
Your vaping style is the first thing to consider. Do you prefer a tight draw similar to a cigarette, or do you enjoy big, airy clouds?
- MTL Coils: These have higher resistance (typically 1.0 ohm or higher). They produce less vapor and provide a tighter draw, mimicking the sensation of smoking. They work best with e-liquids that have a higher PG content or nicotine salts.
- DTL Coils: These are “sub-ohm” coils, meaning their resistance is below 1.0 ohm. They are designed for large vapor production and require more power. DTL coils pair well with high-VG e-liquids for dense, flavorful clouds.
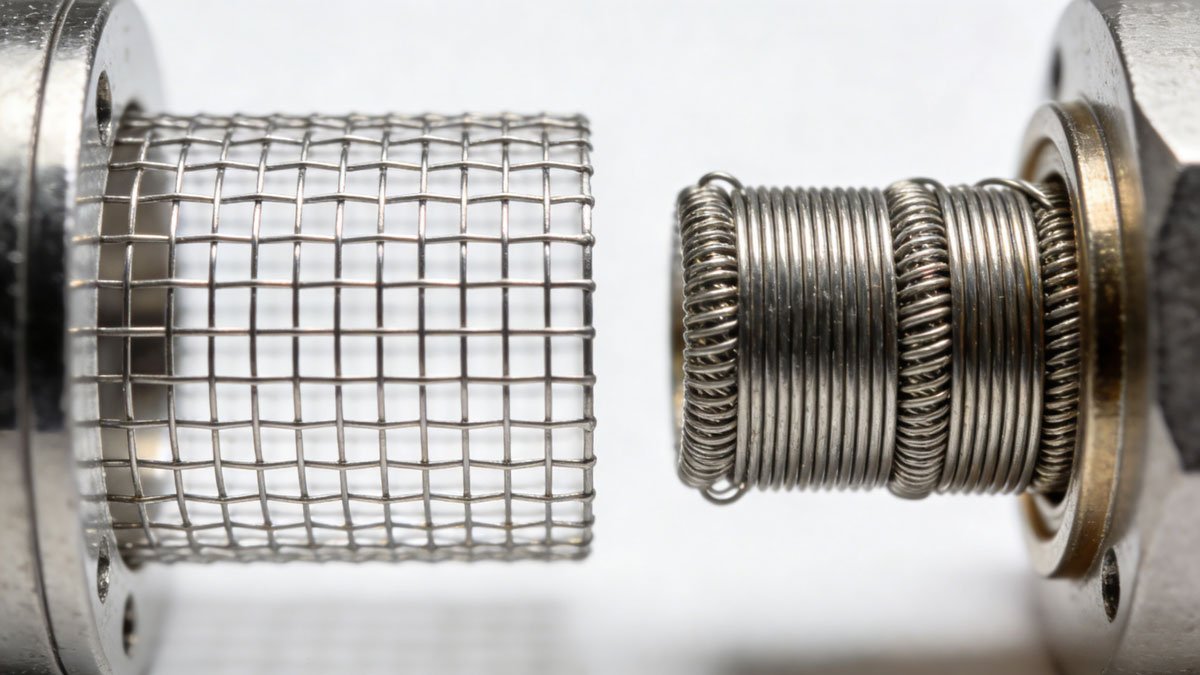
Standard Wire vs. Mesh Coils
The construction of the heating element is another key difference. The debate between traditional wire and modern mesh is a big one in 2026.
Standard wire coils consist of a single or multiple strands of wire wrapped into a spiral. Mesh coils, however, use a strip of metal mesh with a large surface area.
| Feature | Mesh Coils | Standard Wire Coils |
|---|---|---|
| Flavor Intensity | Excellent (large surface area) | Good to Great |
| Vapor Production | High | Variable (depends on build) |
| Ramp-Up Time | Very Fast | Slower |
| Coil Lifespan | Generally Longer | Shorter |
A Deep Dive into Coil Materials
The metal your coil is made from matters. It affects ramp-up time, flavor purity, and whether you can use advanced features like Temperature Control (TC). Let’s explore the most popular materials.
Kanthal (KA1)
Kanthal is the go-to choice for many vapers, especially beginners. It is a ferritic iron-chromium-aluminium alloy that is durable and easy to work with.
It is designed exclusively for wattage mode. Its resistance remains stable as it heats, making it reliable and consistent.
Stainless Steel (SS)
Stainless steel (often SS316L) is the most versatile option. It is unique because it can be used in both standard wattage mode and Temperature Control (TC) mode.
SS coils offer a fast ramp-up time and are known for producing a very clean and crisp flavor profile.
Nichrome (Ni80)
Known for its incredibly fast heating speed, Nichrome is a favorite among cloud chasers and builders of complex coils. It has a lower resistance than Kanthal for the same gauge.
However, it contains nickel, so individuals with a nickel allergy should avoid it. Nichrome is for wattage mode only.
Choosing the Right Coil: A Step-by-Step Guide
Feeling overwhelmed by the options? Don’t worry. This section provides a clear framework for selecting the perfect coil based on your tank, e-liquid, and desired experience.
Understanding Ohms (Resistance)
You will see a number followed by the omega symbol (Ω) on every coil, like ‘0.5Ω’ or ‘1.2Ω’. This indicates the coil’s electrical resistance.
- Low Resistance (Sub-Ohm, <1.0Ω): Heats up faster and hotter. Requires more power, produces more vapor, and is used for DTL vaping.
- High Resistance (Plus-Ohm, >1.0Ω): Heats up slower and cooler. Requires less power, produces less vapor, and is used for MTL vaping.
Matching Coils to Your E-Liquid (VG/PG Ratio)
The thickness of your e-liquid, determined by its VG/PG ratio, is crucial. Pairing the right coil with your juice prevents dry hits and leaking.
Thick, high-VG juice (e.g., 70/30) needs a sub-ohm coil with large wicking ports to absorb it properly. Thinner, high-PG liquid (e.g., 50/50) works best with higher-resistance MTL coils to avoid flooding and leaking.
Coil Compatibility: Will This Coil Fit My Tank?
This is the most common question from vapers. Unfortunately, there is no universal coil. You must use coils designed specifically for your tank or atomizer.
Always check the product description or the manufacturer’s website. The SmoVape blog has several compatibility guides to help you find the right fit for popular brands.
Vape Coil Maintenance and Lifespan
Getting the most out of your coils saves money and ensures you always get the best flavor. Proper care can significantly extend their life. On average, a stock coil lasts anywhere from one to two weeks.
When to Change Your Vape Coil: 5 Telltale Signs
How do you know it’s time for a fresh coil? Look for these five key indicators so you are never caught off guard.
- Burnt Taste: The most obvious sign. This means the cotton wick is damaged and can no longer saturate properly.
- Muted or “Off” Flavor: Your favorite e-liquid suddenly tastes bland or different. This is due to residue buildup on the coil.
- Gurgling Sounds: A gurgling or spitting noise often means the coil is flooded and cannot vaporize the liquid efficiently anymore.
- Leaking: If your tank starts leaking for no apparent reason, a worn-out coil with a degraded wick is a likely culprit.
- Reduced Vapor Production: You notice significantly less cloud output at your usual wattage setting.
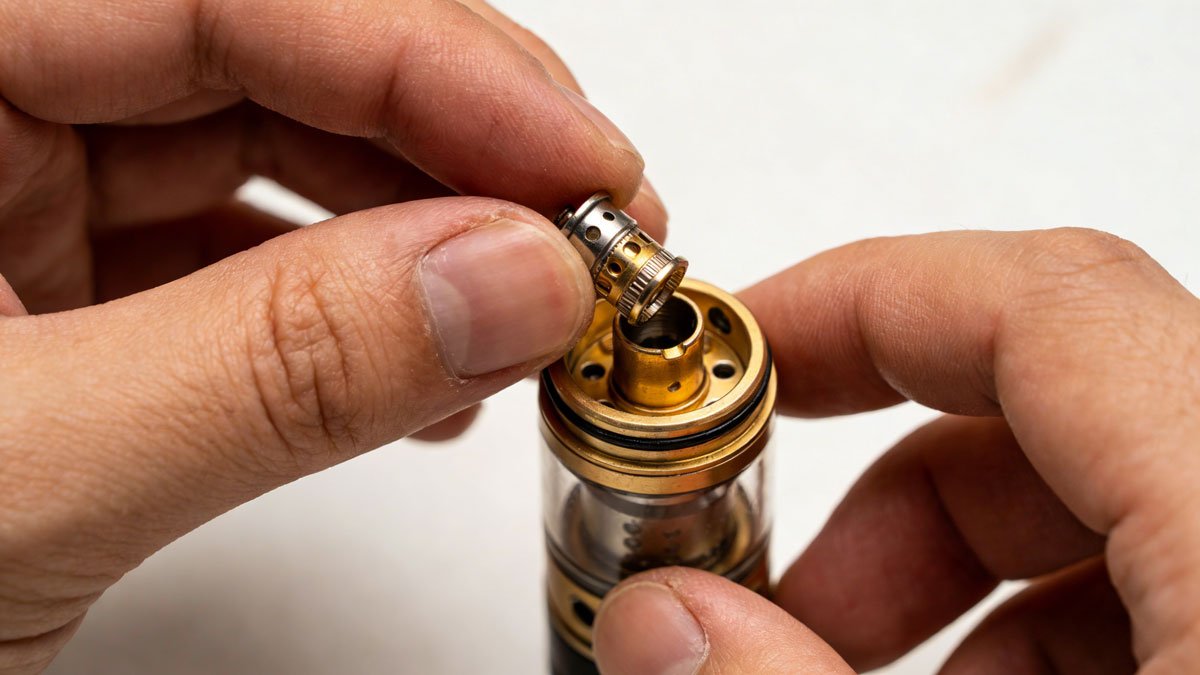
How to Properly Prime and Install a New Coil
Priming your coil is the most important step to prevent a nasty dry hit. A dry hit happens when the cotton burns because it is not fully saturated with e-liquid.
- Apply a few drops of e-liquid directly onto the exposed cotton on the top and sides of the new coil.
- Install the new coil into your tank and assemble it.
- Fill your tank with e-liquid.
- Let the tank sit for at least 5-10 minutes. This allows the cotton to become fully saturated.
- Take a few short puffs without pressing the fire button to help draw liquid into the coil.
- Start at a low wattage setting and gradually work your way up to your desired level.
Can You Clean Vape Coils? The Real Answer
This is a hot topic. While you can rinse replaceable stock coils with warm water and let them dry completely, it is often not very effective. The process can damage the delicate cotton wick.
Cleaning is much more common and effective for rebuildable (DIY) coils where you can replace the cotton wick entirely. For stock coils, replacement is almost always the better option for performance and flavor.
Troubleshooting Common Coil Problems
Is your vape gurgling, spitting, or tasting burnt? Don’t panic. Our troubleshooting guide will help you diagnose and fix the most common coil-related issues quickly.
| Problem | Possible Cause | Solution |
|---|---|---|
| Burnt Taste | Coil not primed, wattage too high, empty tank | Replace the coil, ensure proper priming, lower wattage |
| Gurgling / Spitting | Coil is flooded with e-liquid | Flick the device to clear excess liquid, increase wattage slightly |
| Leaking Tank | Worn-out coil, loose parts, wrong e-liquid | Replace coil, check seals and tightness, use thicker (higher VG) e-liquid |
| “No Atomizer” Error | Coil not installed correctly, dirty connection | Re-install the coil, clean the 510 connection on the mod and tank |
For the Hobbyist: Introduction to Coil Building (DIY)
Ready to take your vaping to the next level? Building your own coils offers ultimate customization and can save you money in the long run. This is your starting point for the world of rebuildable atomizers (RDAs, RTAs, RDTAs).
According to research from public health organizations, vaping is considered a harm reduction tool for adult smokers, and customization is a key aspect of its appeal for many users. (Public Health England).
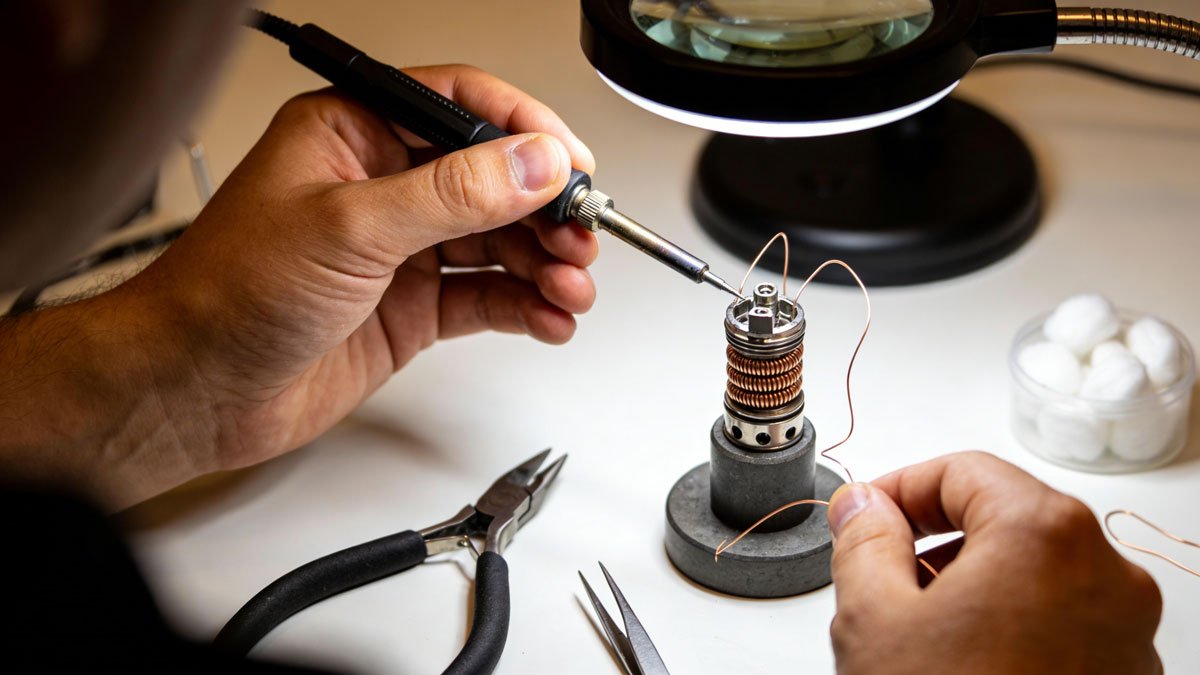
Essential Tools for Building Your First Coil
Before you start wrapping, you will need the right gear. A dedicated coil-building kit is a great starting point. Key tools include:
- Spools of wire (Kanthal is great for beginners)
- Organic vape cotton
- Wire cutters and needle-nose pliers
- Ceramic tweezers (they don’t conduct electricity)
- Coil jig or small screwdrivers for wrapping
- An ohm reader or a regulated mod to check resistance safely
Simple Coil Wraps to Start With (Micro & Spaced Coils)
Let’s build! The two most fundamental builds are the micro coil and the spaced coil. A micro coil has its wraps touching, while a spaced coil has small, even gaps between each wrap.
Most beginners find spaced coils easier to make, as they don’t require pinching and pulsing to remove hot spots. Advanced builds like Fused Clapton coils can be attempted once you master the basics.
Wicking 101: How to Wick Your New Coil Correctly
Wicking is an art form. The goal is to have enough cotton to fill the coil snugly without being too tight. Too little cotton causes dry hits; too much chokes the coil and prevents proper e-liquid flow.
A common technique is to roll one end of your cotton strip, thread it through the coil, and then trim the ends. The tails of the wick should just touch the bottom of the juice well in your atomizer.
Frequently Asked Questions (FAQ)
Have more questions? We have answers. Here are some of the most common queries we receive about vape coils.
What’s the difference between an atomizer and a coil?
Think of it like a car and its engine. The “atomizer” is the entire tank unit that holds the e-liquid. The “coil” is the heating element inside the atomizer—the engine that does the work.
Why is my new coil burning out so fast?
The most common reasons are not priming the coil properly, chain vaping (not allowing the wick to re-saturate between puffs), using a wattage that is too high, or using very sweet e-liquids, which can caramelize and gunk up the coil quickly.
Can I use any coil in any vape?
No, and this is crucial for safety and performance. Coils are specifically designed with certain threading and dimensions to fit a particular tank or a series of tanks from the same brand. Always use coils that are listed as compatible with your device. You can find a wide range of compatible coils for your device in the SmoVape product catalog.
Ready to Find Your Perfect Coil?
Stop guessing and start enjoying the best flavor and performance from your vape. Our experts are here to help you match the right coil to your device and vaping style.
Get Expert Advice →